Diamond paintings have become a popular craft hobby in recent years. These paintings use tiny resin rhinestones, or what we can call beads, to create colorful designs and images. Once completed, a diamond painting results in a sparkling work of art.
But a diamond painting isn’t complete until it’s properly framed and ready to hang on your wall. Framing a diamond painting well takes some care and suitable materials. Are you prepared with your unique artwork made with sparkling diamonds? We know it takes a lot of time to complete a diamond painting. Framing the diamond painting is the final task to make your artwork more beautiful.

We know that you made the best diamond painting ever, and now you are thinking, “How do I frame a diamond painting?”
Don’t worry about that, I am here to help you with framing your artwork. There are two options to get your diamond painting framed.
- DIY framing your diamond painting (Best till size 40x50cm)
- Get your diamond painting framed by a professional (Above 40x50cm)
If your painting is above 40x50cm we suggest you take the help of a professional. But if you are good at DIY, then you can proceed. We recommend you to take a look at all the suggestions that are given below. These will help you to choose the perfect frame, even if you are getting it done by a professional.
Prerequisites for Framing a Diamond Painting
Before framing an artwork, there are some prerequisites that you should follow for the best results. Check out some essentials before proceeding with the framing process.
1. Choosing a Frame
The first step is selecting an appropriate frame. A frame can make or break the look of your finished artwork. We can do two types of framing: one is with the glass and the other is without glass. I am sharing my expertise in without-glass framing.
Here are some tips for picking the right diamond painting frame:
- Opt for a simple, thin frame in a color that complements the painting. Elaborate or chunky frames distract from the diamond artwork.
- Match the frame color to a background color in the painting. If we talk about general, then black, white, silver, and gold frames pair well with most designs.
- Select a frame with UV-protective glass to prevent fading from sunlight over time. (You can also do a glassless framing, but if your place has a lot of dust particles then you should avoid it)
- Select a frame deep enough to accommodate the painting’s resin rhinestones, around 2 inches (ca. 5 cm) deep. (This is for framing with glass)
- Pick a frame with a backing thick enough to hold the weight of the painting without bending, at least 1/8 inches thick.
- Consider a frame with a mat board that accentuates the diamond painting edges.
2. Preparing the Diamond Painting
Once you’ve selected an appropriate frame, you’ll need to get the diamond dotz painting ready for framing. Here are some tips:
- Gently clean the surface of the painting with a soft brush or cloth to remove any dust or debris that may have been collected.
- Please inspect for any missing rhinestones and fill them in as needed for a complete design.
- For paintings with multiple drill colors, consider applying a thin coat of acrylic sealer spray across the surface. This will help secure the rhinestones in place. Allow sealer to fully dry.
- If you are doing a without glass framing, sealing your diamond painting is a must-do task.
- Double-check that your chosen frame’s inside dimensions can fully accommodate the diamond painting’s size. Allow a 1/4 inch margin between the frame edges and the artwork.
Once you are ready with your painting, follow the below steps to frame your diamond artwork.
How to Frame a Diamond Painting? (Without Glass)
To frame a diamond painting, I am working with a 40x50cm size diamond painting and I am doing a without glass framing. So follow the steps carefully and prepare to show your diamond painting to your friends and family.
Total Time: 30 minutes
Seal Your Diamond Painting
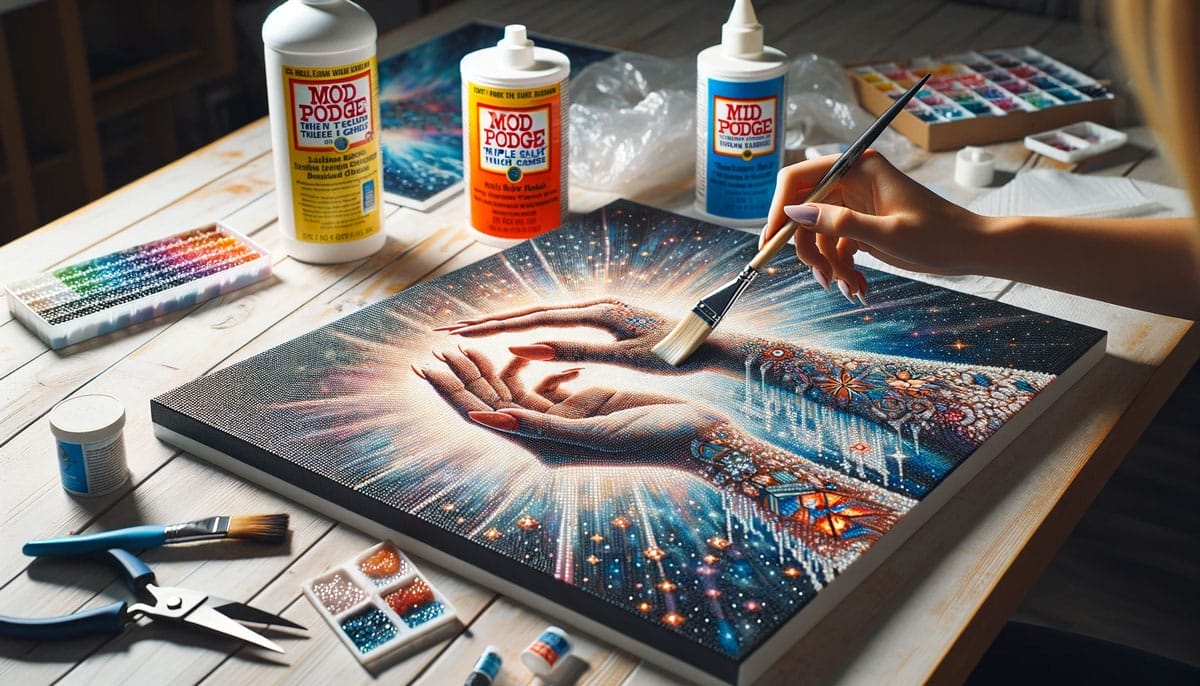
This is the first step that you should do before framing your diamond painting. I suggest you seal the diamond painting to give it a longer life. You can use a Brush-on sealer or spray sealer to seal your artwork.
We are going with a without glass framing, so if you don’t seal the diamonds, the adhesive can catch the dust particles. In this way, the painting will lose its shine.
Get the Wooden Frame Bars
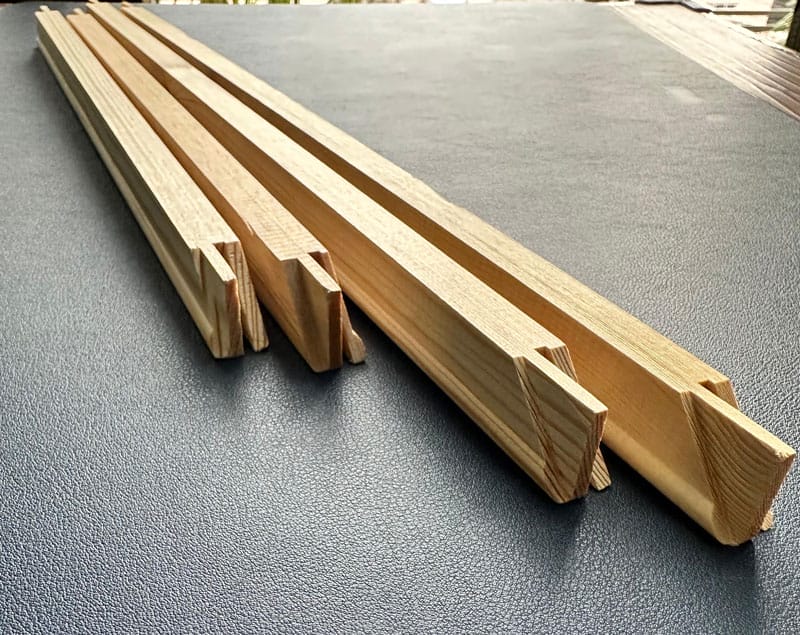
This is the first step to getting started with framing. Get the wooden framing bars from our store. Each of the diamond painting frame kits includes the following:
– 4x Wooden framing bars
– Thumb pins (not in the picture, but you will get multiple thumb pins)
Always select the framing kit according to your painting size. You can also use a staple gun to give extra strength to the frame.
Preparing the frame
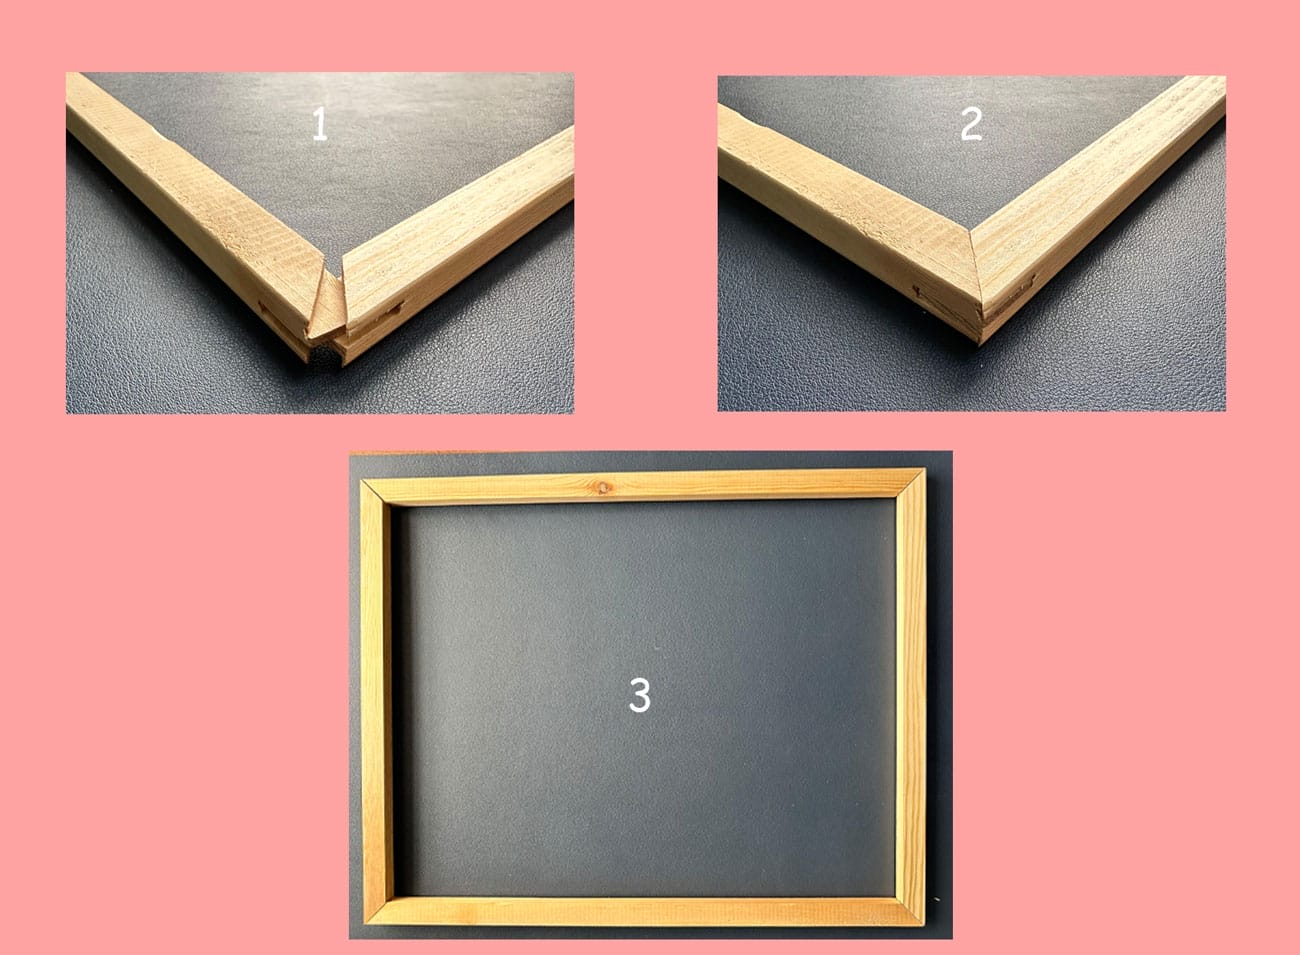
You will get 4 wooden bars as per your selected size. We just need to attach the bars to each other properly to get the whole frame. You can see the procedure in the below picture.
Lay out your canvas on a flat surface.
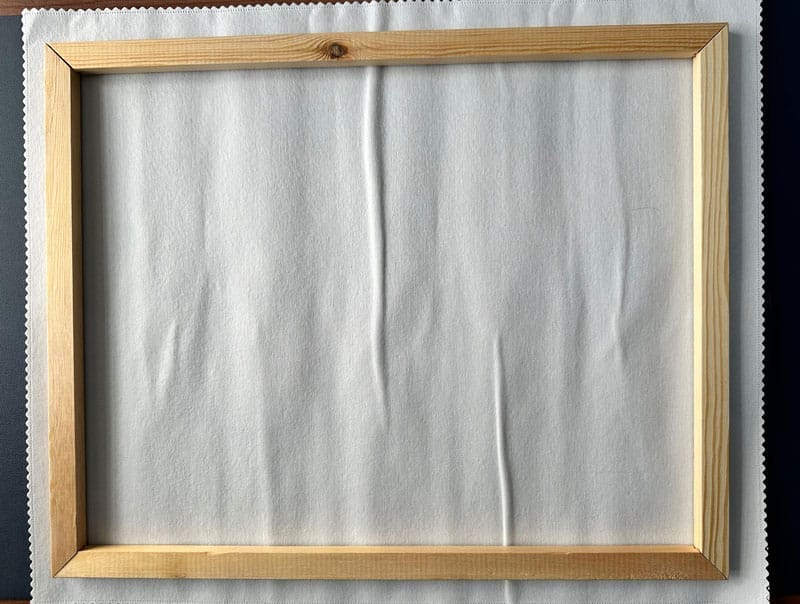
Now lay out the canvas on a clean and flat surface. Make sure the diamonds are facing the surface side. Now put the frame on the canvas and use the thumb pins to attach the canvas on the bars as shown in the picture.
Gently do this on all four sides. Now it’s time to secure the painting on the corners. You can use the staple gun to stretch the canvas on the frame. See the picture for a better understanding.
Make sure the canvas is properly stretched
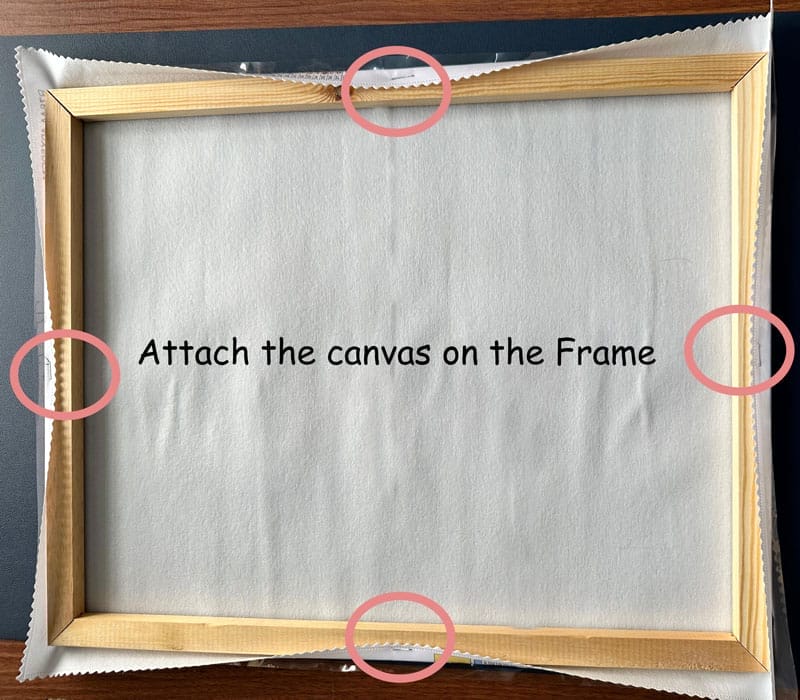
Now check that the canvas is properly stretched on the canvas. If you find any crease on the canvas, I suggest you stretch it again and secure it on the wooden bars with staple pins.
Check out if any diamonds missing.
When we do framing, it is normal that we may lose some diamonds. Gently place those diamonds back on the canvas and use a sealer again.
Hang the Diamond Painting on the Wall
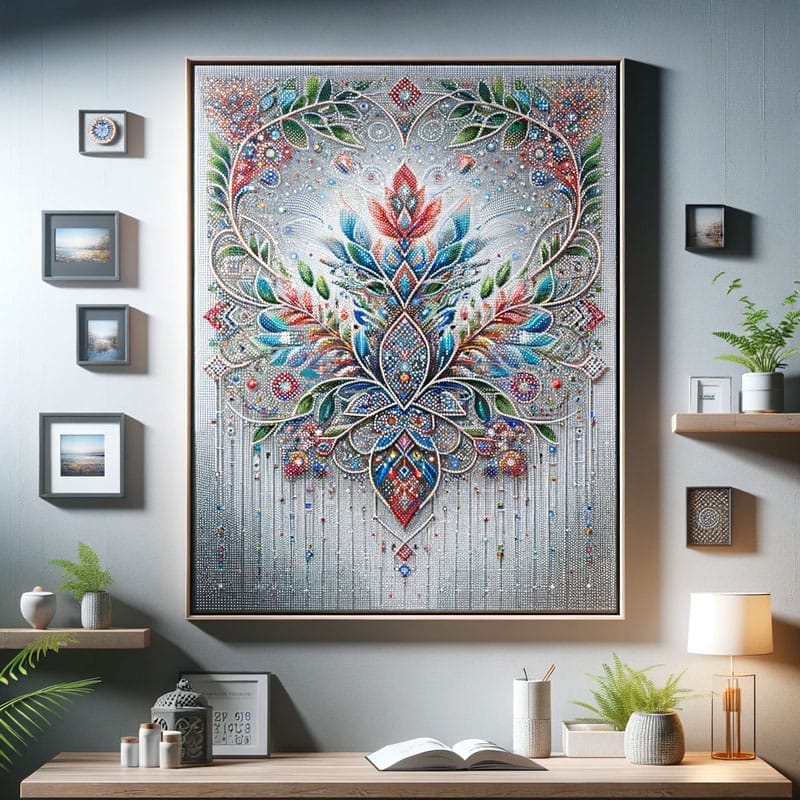
Now your framing is completed, you can hang the diamond painting on your wall. It’s time to showcase your artwork to all.
Estimated Cost: 30 USD
Supply:
- Framing Bars
- Thumb Pins
Tools:
- Stapler
- Staple Pins
Materials: Wooden
How do you frame a bigger size Diamond Painting?
If your diamond painting is more significant than the standard size of 40x50cm or 50x60cm. I highly recommend you get your painting framed by a framing professional.
The cost of framing is different for each country. But professional framing cost starts from $10.
That’s all, dear; your framed diamond painting is ready. I hope that you will love the tips and tricks that I shared for Diamond Painting Framing. If you want to know all about diamond painting like what is diamond painting and other stuff you should check our blog.
