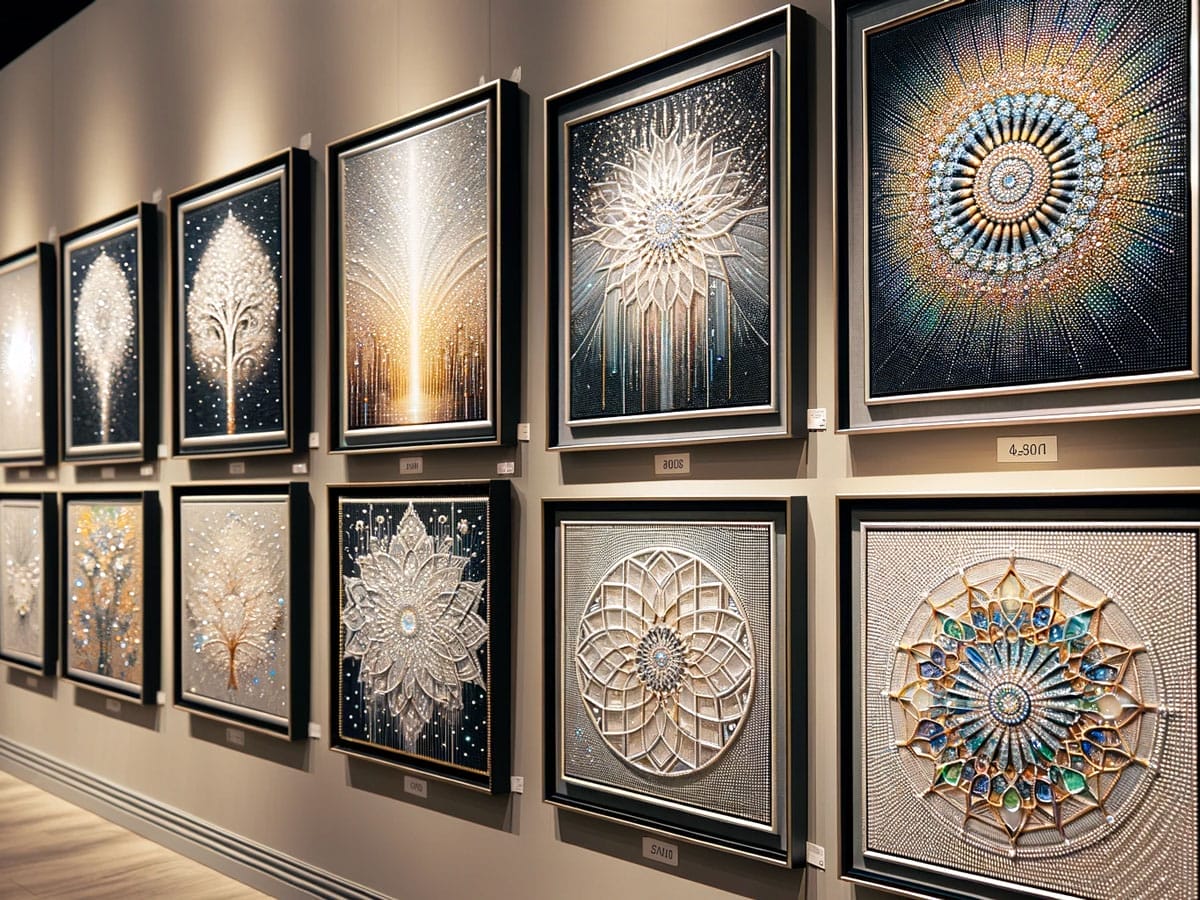
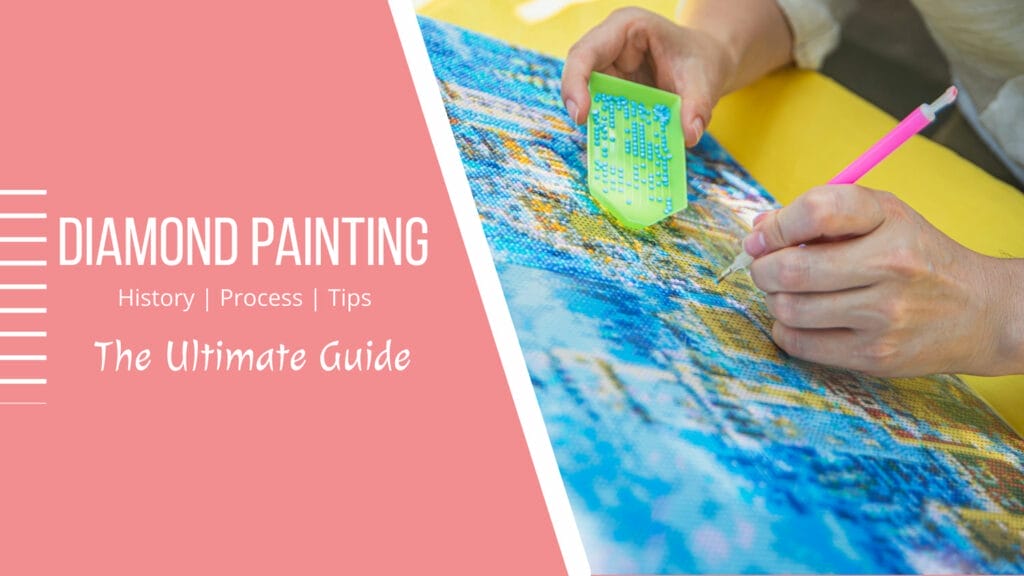
Diamond painting is a craft hobby that has recently become very popular. It uses tiny faceted resin “diamonds” to create colorful designs and patterns. The diamonds are applied to a sticky canvas using a small stylus, or we call it a pen. It’s like paint-by-numbers but with sparkly diamonds instead of paint!
Diamond painting is relaxing and meditative and results in beautiful, sparkling artwork. You don’t need a seasoned artist to work with diamond artwork.
What is Diamond Painting?
As the name suggests, “a painting made with diamonds is called diamond painting.” Don’t get confused with the word diamond; these are not real diamonds. The diamonds used for the painting are made with high-quality plastic and glass, also called rhinestones and beads.
Diamond painting is an upgrade to cross-stitch, or we can say this is a perfect blend of cross-stitch and paint-by-numbers. We use diamond-like beads as paint and diamond applicator pens as brushes in the diamond painting, so we call it diamond painting.
The History of Diamond Painting
Diamond painting originated in Japan in the late 2010s. It was created and popularized by the company PaintingsCart. PaintingsCart’s early diamond painting kits featured iconic Japanese characters and animals.
The craft quickly caught on in China and South Korea. Chinese and Korean artists began designing new styles of diamond paintings and custom tools. The hobby spread across Asia and then became popular worldwide.
Now, there are thousands of diamond painting designs available featuring anything from butterflies to van Gogh paintings. It’s become a global sensation and creative outlet. The repetitive nature of diamond painting is calming and meditative for many enthusiasts.
Diamond paintings do not require knowledge of painting, and it is more relaxing than the old cross-stitch methods. You can say it is the best alternative to the cross-stitch. Diamond dotz is getting popular daily because it is relaxing and the best hobby for your free time.
I am providing an ultimate tutorial for getting started with diamond dotz art. If you are familiar with this, I recommend reading this article because I have covered some fantastic tips to save you time and effort.
How to get started with Diamond Painting?
Diamond painting may look complicated, but it is quite easy to do! You will enjoy the process of completing your artwork. Here is a step-by-step overview of the diamond painting process:
Total Time: 10 hours
-
Choose a Diamond Painting Kit
Diamond painting kits come with everything you need to complete a design. You can choose from many different styles, sizes, shapes, and images. Common kit sizes range from 5″x 7″ mini paintings up to 20″x 30″ and more.
This is the first step to getting started with your diamond painting. You need to select a design that you want to convert into diamond art.
We already have many diamond paintings in our store. You can access them using the below link.Select the designs that you like the most. If you didn’t find a suitable design or want to make a diamond painting with your picture, you can also order that.
-
Open and Understand the Canvas
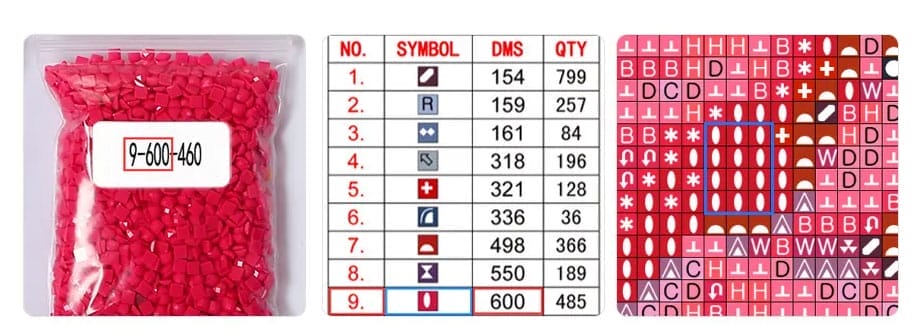
Once you receive the product, please open it carefully. You will get an adhesive canvas with some small boxes printed on it. Those boxes are colored and labeled with a number or some icons. The size of the box and the diamond are the same.
Each number or icon printed on the canvas corresponds to the diamond color. A chart is given on the canvas side, which shows all the relations between the diamond and the colored box. The above picture explains this step.
Each diamond packing has a unique number on it. Now, in this example, I selected red color packing, which has code 9-600-460 on it.
– 9-600 is the number of the Packing
– 460 is the quantity of diamonds used in paintingIt means we need to place these diamonds on the canvas with the symbol corresponding number 9.
-
Unroll The Canvas

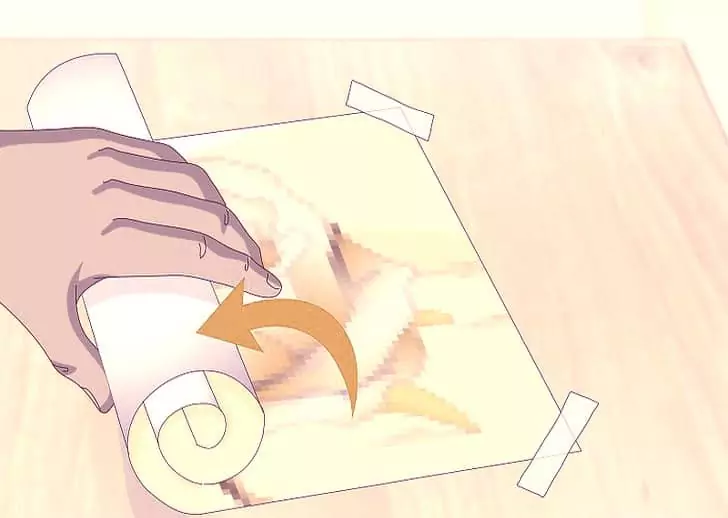
The canvas should be unrolled on a flat surface. If the canvas doesn’t lay flat, roll it back the other way and unroll it.
Now, put this canvas on a flat surface like a table to arrange all the accessories near you. This will help you to speed up your diamond painting process. -
Peel off the covering of the canvas

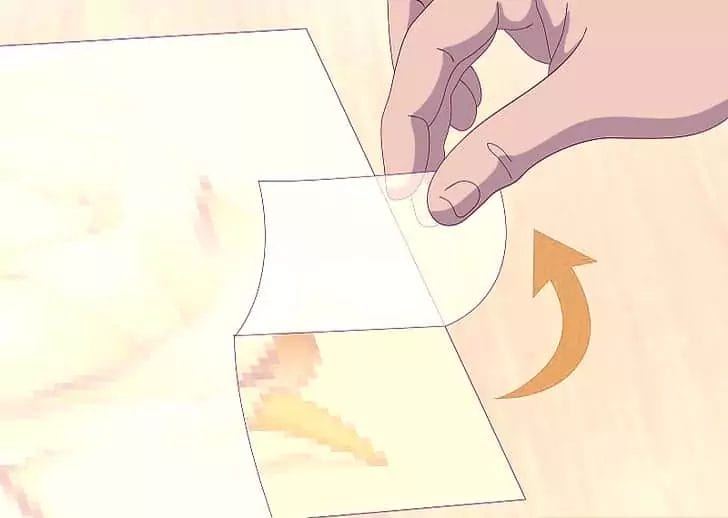
Now remove the covering film from the canvas. Some kits have a transparent covering, but some come with a white cover.
I suggest you complete your painting in parts, and you should peel off a small part of the covering film every time.
Many of our kits come with pre-cut strips. So I suggest you peel off the strips individually so the adhesive will not catch the dust. -
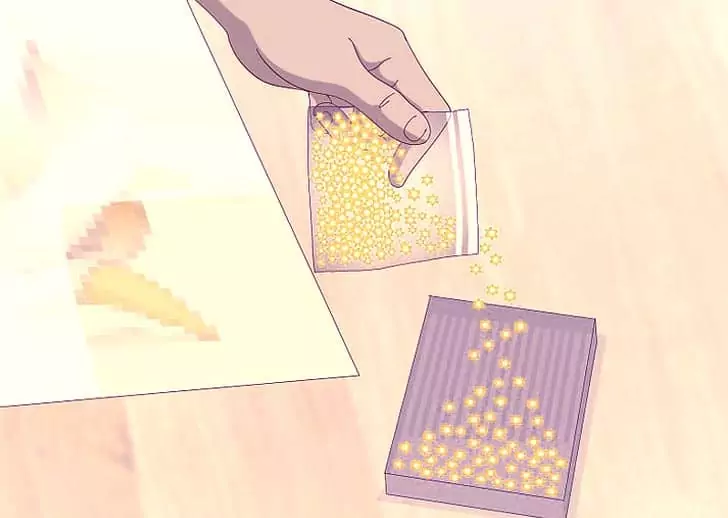
Pour out the first color from the Diamond Packing

Now, it is the time to get started with diamonds. Just look at the part of the canvas you exposed in the above step and see which color code has the maximum quantity.
Now grab the corresponding number of diamond packing and pour some sparkling 5D diamonds.
Some of our premium kits have 2-3 trays in the packing. I suggest you take out two colors simultaneously to speed up the process.
-
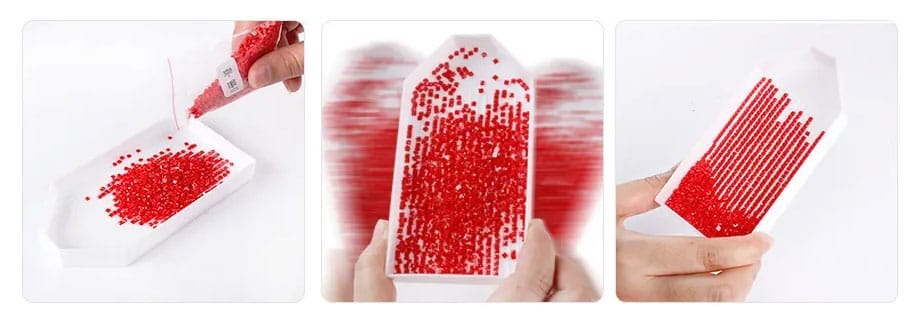
Shake the Diamond Tray
Once you have diamonds in your tray, you need to shake the tray so that the diamonds can adjust themselves, and you can easily pick them up using the painting pen.
Please see the picture above. As you can see in the picture, shaking the diamond tray will quickly help you pick up the gemstones.
-
Use of Pen and Wax/Gel

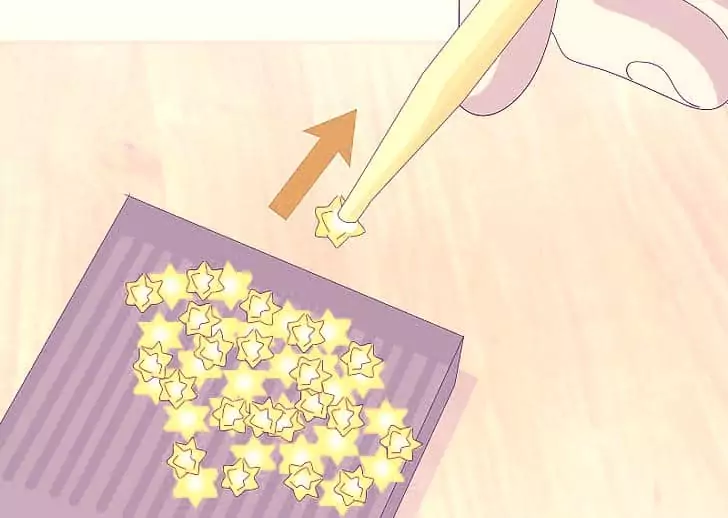
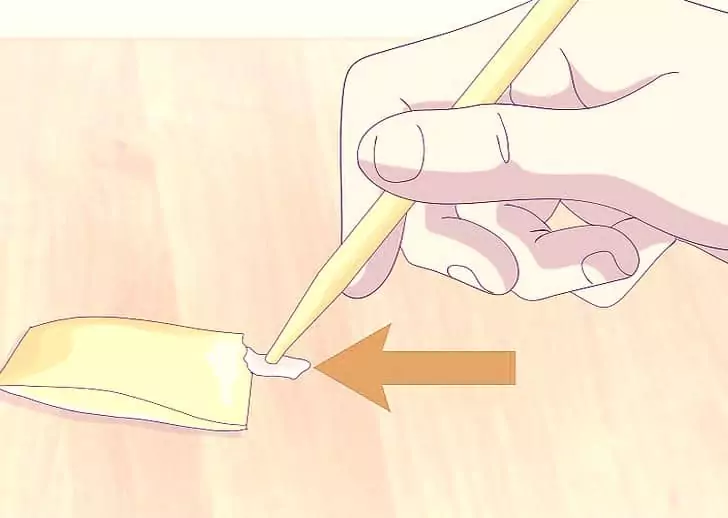
You will get a pen and some wax in the package. Now open up the packet of the wax or gel and dip the end of the pen into the gel.
This will help the pen to pick up the beads easily. Now, you can repeat this process if the pen loses the wax.
-
Start Painting on the Canvas with the pen.

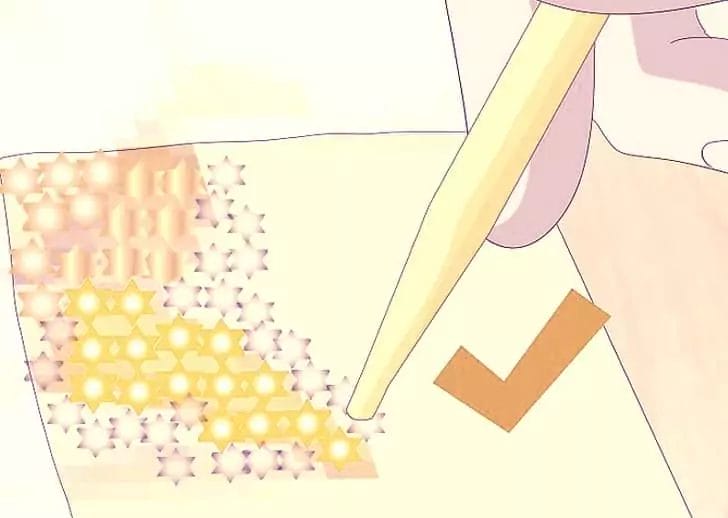
Once you’ve picked up a diamond with the pen, place it directly on its corresponding adhesive symbol on the canvas. Gently push down on the diamond to ensure it sticks. Continue picking up diamonds and placing them until the design is fully covered.
-
Fill the remaining section of the painting.

We suggest you work with one or two colors at a time. You can refill the wax in the pan as needed.
Now repeat the above steps again and again and complete your beautiful diamond painting. Fill up all the squares with the corresponding colors, and you will be ready to see your diamond painting soon.
-
Press the Loose Diamonds

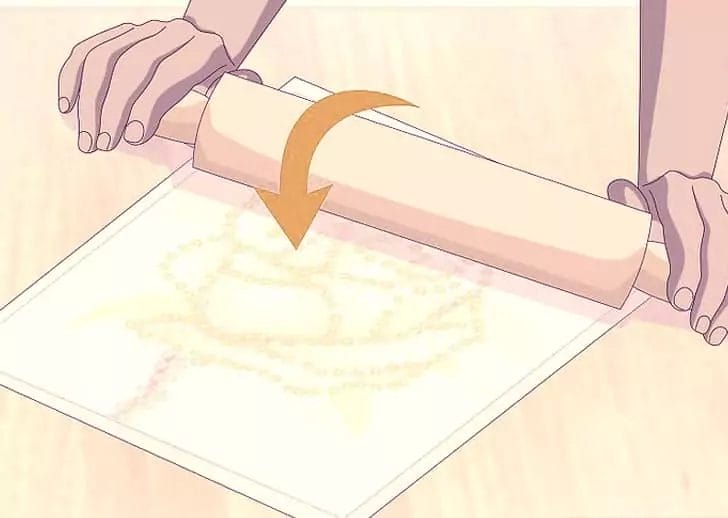
While completing the painting, if there is any loose diamond, we must press it again to get stuck against the canvas.
To do this task easily, you can take a cylindrical object and roll it on the canvas.
If you still have some loose diamonds, you should press them with the pen again. -
Put Heavy books on the Canvas.

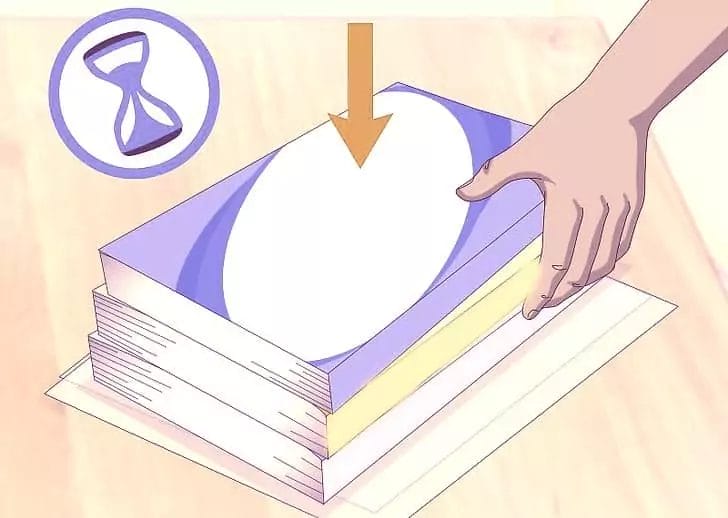
To make the bond of diamonds and canvas stronger, you need to put some heavy stuff on the top of the canvas.
You need to put the canvas on a flat surface and stack some heavy books or any heavy object with a flat surface on top of the canvas. -
Your artwork is complete.

Woohoo!! now your 5D diamond painting is ready. It’s time to hang this fantastic art on the wall of your Living room or bedroom.
Estimated Cost: 40 USD
Supply:
- Adhesive canvas
- Resin diamonds
- Wax
Tools:
- Diamond painting pen
- Tweezers tool
Materials: Linen canvas Plastic diamonds
These were the steps to complete the diamond painting. But if you are a beginner in diamond artwork then you should check out some tips and techniques that will help you to complete your painting in more efficient ways.
Tips for Beginners
If you’re new to diamond painting, following these tips can help you get started:
- Start with a small, simple design to learn the basics before moving on to larger paintings.
- Be patient and work at your own pace. Diamond painting is not a race; enjoy the process.
- Use a bright work light and magnifying glass to see the tiny symbols and diamond details easily.
- Take breaks and pause if you feel overwhelmed. Diamond painting is therapeutic but can strain your eyes and hands if done too long.
- Use tweezers instead of a pen if you prefer. Many kits include both tools.
- Organize your diamonds in a compartment box or trays by color/symbol for easy access.
- Watch tutorial videos online to pick up helpful diamond painting tips and tricks.
- Frame and proudly display your finished paintings to enjoy!
As a beginner, you may doubt the square and round diamonds. If so take a look at the below section.
What is the difference between a square diamond and a round diamond?
We use two types of diamonds in painting. One is the square diamond, and the second is the round diamond. You can have a look at the pros and cons of both below.
Square Diamond
Pros – Cover the entire canvas and create a complete-looking painting.
Cons – Less shiny, a little bit hard to apply.
Round Diamond
Pros – More Shiny, easy-to-apply diamonds
Cons – Don’t cover the entire canvas (there will be some gaps due to round shape)
You can read the full article about square vs round diamonds on our blog. Most of our customers prefer square drills over round drills.
When we complete a diamond art, we need some tools and accessories. Your diamond painting kit includes all the tools and accessories but there are some extra accessories that you can get and take your painting journey to another level.
Diamond Painting Tools and Accessories
While basic kits contain the essentials, there are additional handy tools and accessories for diamond painting:
Diamond Organizers: Plastic trays with lids or stackable boxes keep your colors sorted neatly. I suggest you buy a diamond storage box if you work on multiple diamond paintings.
Light Pad: The illuminated pad makes seeing canvas symbols easier and reduces eye strain. This is a must-have if you work on your diamond painting in night.
Magnifier: Headband or standing magnifying glasses help view tiny details.
Diamond Refill Sets: Stock up on extra containers of your commonly used diamond colors.
Diamond Painting Sealer: Liquid sealants like Mod Podge protect finished paintings.
Drill Pen: A drill pen rotates diamonds for fast application. Best for filling larger areas.
Diamond Painting Stands: Display easels and stands that let you prop up a painting to work vertically.
How to remove crease from diamond dotz canvas?
We always use cylindrical foam while packing the canvas in the box. So there will be very little chance to get a crease on the canvas. In rare cases, if you get a crease on the canvas, here are some ways to remove the crease.
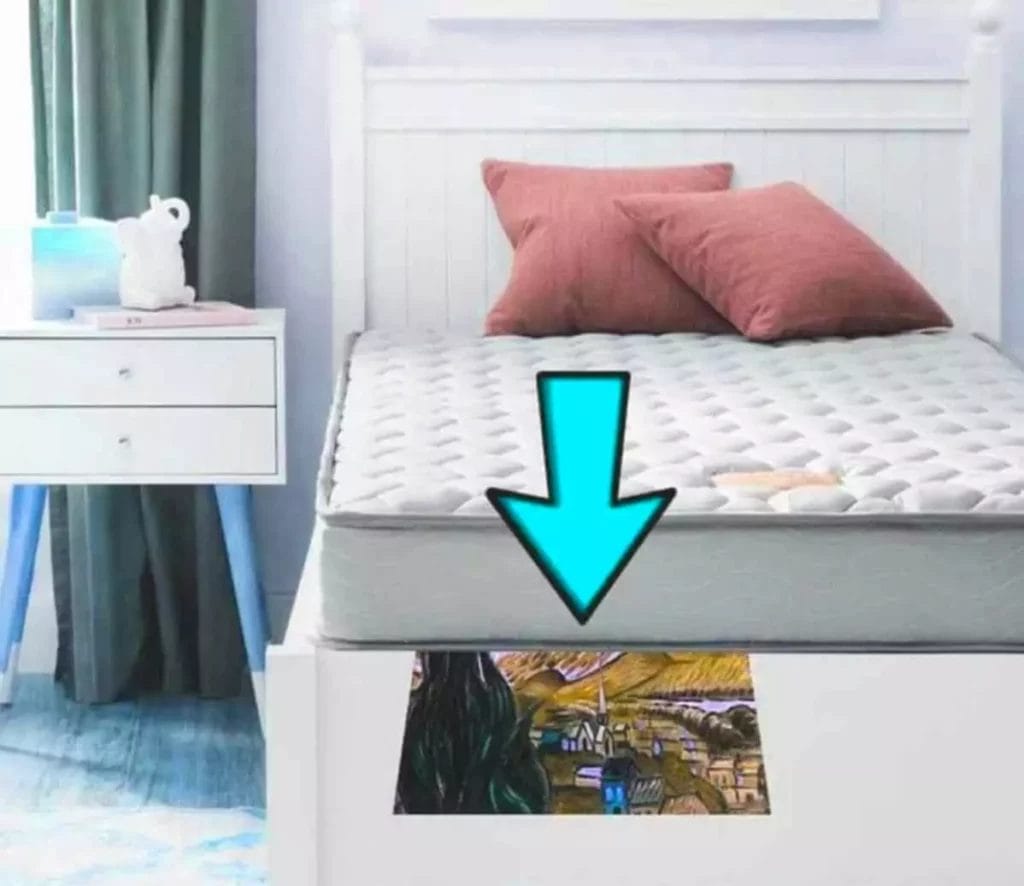
Way 1: Put your creased canvas under your mattress overnight. When you sleep on the bed, the canvas will automatically iron the crease with your body weight.
Way 2: If you have heavy books in your house, we highly recommend you put those books on the canvas for a night. The weight of books will remove the crease from the canvas.
How do I frame my Finished Diamond Painting?
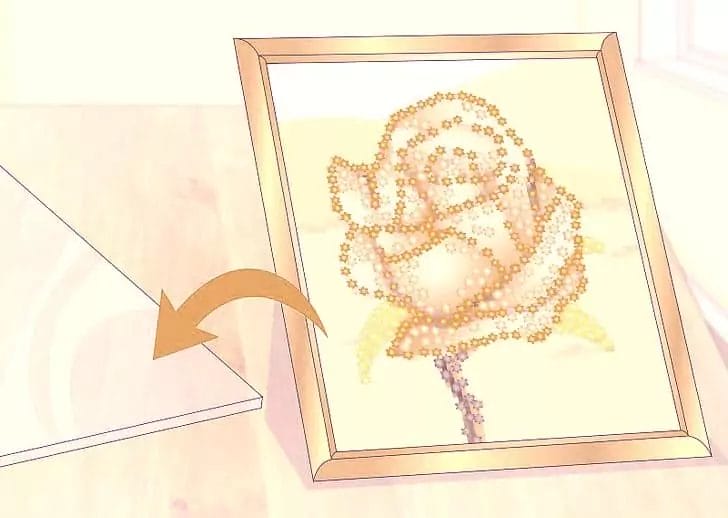
Once you have completed the diamond painting, the final task will be to frame it.
We suggest you seal your diamond painting before framing it. Please refer to our framing guide to know more.
The Sparkling Benefits of Diamond Painting
Beyond creating pretty artwork, what are the benefits and joys of diamond painting?
- Relaxation – The systematic process elicits a zen-like calm. It’s an ideal way to de-stress!
- Creativity – Channel your imagination and access your artistic side, even without painting skills.
- Achievement – The sense of joy and pride in completing a new glittery masterpiece.
- Focus – Entering a state of mindfulness as you concentrate on the crystals.
- Patience – Develop more extraordinary patience as you build the design diamond-by-diamond.
- Gift Giving – Finished paintings make beautiful gifts; share creativity with loved ones!
I also share some benefits of diamond paintings from the process in my article.
Our Final words for Diamond Painting Lovers
Thanks for reading this ultimate beginner’s guide to diamond painting. The key takeaways:
- Diamond painting is an easy, creative craft using tiny resin crystals
- Kits contain all you need; no experience is required.
- Follow canvas symbols to apply colorful diamonds.
- Choose small designs first to learn techniques.
- Work at your own pace; take breaks to avoid strain.
- Complete paintings sparkle with a beautiful, meditative glow.
- Display finished art proudly; diamond painting makes stunning gifts.
- It’s relaxing, achievable, and suitable for crafters of all ages.
I hope this article has answered your questions and inspired you to try diamond painting! The sense of relaxed focus and joy in creating is a delight. Let the diamonds transport you to a happy place of sparkling artistry.
If you still have doubts about a diamond painting, please read these FAQs below.
What does a diamond painting kit contain?
Diamond kits contain all the accessories and tools that you need to complete a diamond painting artwork. The package contains the following items.
High-Quality Super Adhesive Canvas
Beautiful and eco-friendly Diamonds
Point drill plates to Organise Diamonds
Sticky Gum pad to place diamonds on the canvas
Pens to place diamonds
Tweezer tool
What is a 5D Diamond Painting Kit?
5D diamond painting is the latest technology and hobby, just like the old cross-stitch. We use tiny beads to paint, and those beads have a 5D shape.
The kit contains Canvas, 5D beads(Diamonds), a Gum pad, a tweezer tool, and all other tools to make a 5D Diamond Painting.
What is the difference between 3D and 5D diamond paintings?
The difference between the 3D and 5D diamonds is the number of facets each diamond has. A 3D diamond has 3 facets, and a 5D diamond has 5 facets.
We prefer using 5D diamonds because more facets will result in a more sparkling effect.
What is the best place to buy diamond paintings?
If you are looking for high-quality products and fantastic customer support, only one name is PaintingsCart. 89k+ customers trust PaintingsCart with friendly customer support.
This is the only store that provides lifetime OOOOPS! Warranty.
How do I get a Diamond Painting with my Photo?
If you want to make a diamond painting with your own photos, you can quickly get it with PaintngsCart’s Custom Diamond Painting.
Upload your high-resolution photo. Let us know if you want your photo edited with our professional photo editors.
How long does it take to complete a diamond painting?
It depends on the size but expect anywhere from 4-40+ hours for a first painting. Go at your own relaxing pace.
Do I need any experience or skills?
Not at all! Diamond painting requires zero art skills or experience. Anyone can do it.
How do I fix mistakes while diamond painting?
Gently pry up any wrong diamonds using tweezers. Reposition or replace it correctly.
Can you wash a finished diamond painting?
Yes, you can gently wash sealed paintings by hand. Do not soak, wring, or machine wash them.
What do I do when I’m finished?
Once all diamonds are placed, cover with sealant, add a frame or stand, and proudly display!
Is diamond painting hard on your hands or eyes?
Is diamond painting hard on your hands or eyes?
It can be if you grip tools tightly or forget to take breaks. Use good posture and magnification.

