Diamond painting has become a trendy craft hobby in recent years. The repetitive motions of placing the tiny resin diamonds onto adhesive canvas can be meditative and relaxing. With some practice and knowledge of techniques, even beginners can create works of art that look professional.
If you’re new to diamond painting or looking to refine your skills, you’ve come to the right place. In this article, I will explore advanced diamond painting techniques and offer valuable tips to help you achieve professional-looking results.

Diamond Painting Tips and Tricks
If you are a seasoned diamond painting artist, you can look at the ideas and give me some suggestions so that I can improve further. Here are some advanced techniques and tips for getting professional-looking results with your diamond paintings.
1. Multi-Drill Placement
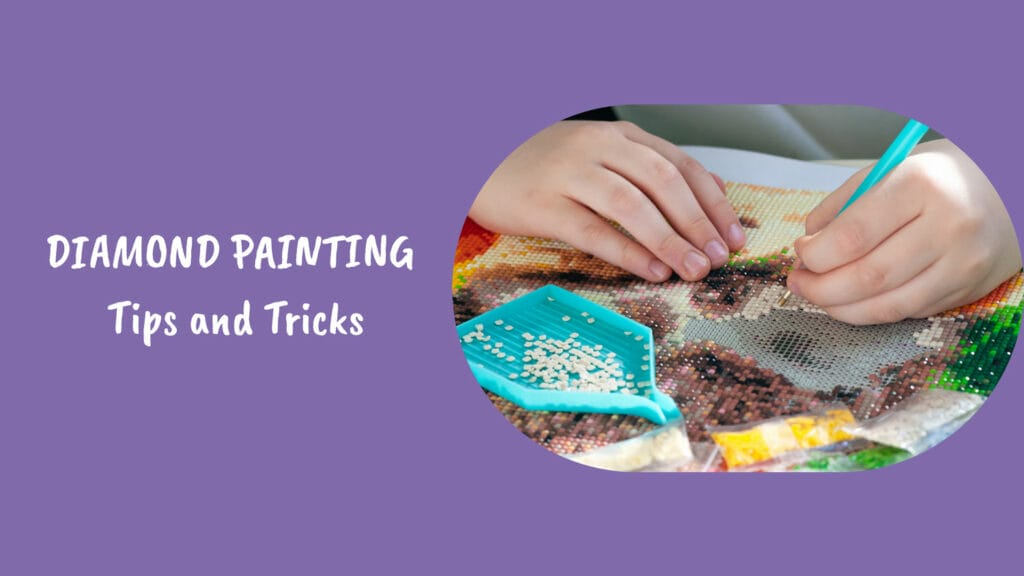
One essential technique for achieving a smooth, seamless look is multi-drill placement. This involves picking up multiple diamonds on your toolkit pen or wax and placing them all in one motion. Start by collecting 3–5 diamonds on your pen tip.
Carefully touch down on the canvas and release the diamonds in one placement. This allows the diamonds to line up perfectly next to each other and speeds up the process. With practice, you can comfortably pick up and place 10+ diamonds at once. Take a look at the suggestion below to work with multi-drill placement.
- Use a multi-drill applicator: Many diamond painting kits have a unique applicator designed for multi-drills. This tool helps you pick up and place the multiple diamonds more precisely.
- Pay attention to alignment: When you place multi-drills, ensure they are perfectly aligned with the grids, or we can say symbols on the canvas. A slight misalignment can be noticeable in the final result.
- Work row by row: It’s often easier to work with multi-drills row by row. Complete one row of multi-drills before moving on to the next. In this way, all the diamonds will be appropriately aligned.
2. Color Blending (Advance technique)
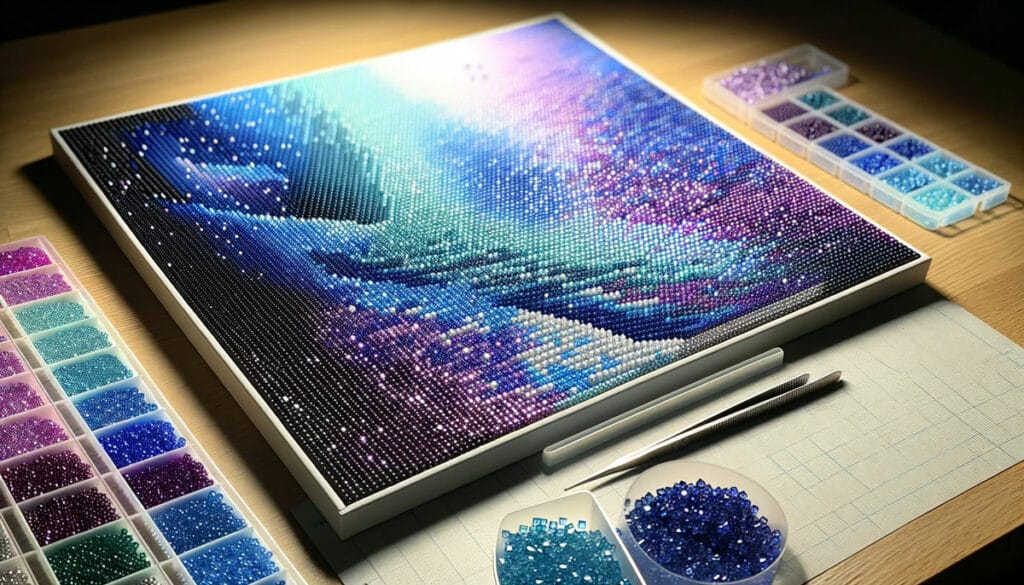
70% of the artists don’t need color blending in diamond painting. Color blending uses diamonds of different colors next to each other to create a mixed hue. For example, placing light blue and dark blue diamonds next to each other will result in a blended purple look. Pay attention to areas on the rendering that transition from one color to the next. Overlap the colors and allow your eyes to mix the tones. This helps the painting look more lifelike and vivid.
Who should use Color Blending?
As you know, canvas and print are generated by computer, so If you personalize your diamond art that has fewer details in the picture, you may get a result that may not look good. But if you use color blending, you can achieve good results.

As you can see, the above art is created with color blending only. I used all the leftover diamonds from different diamond paintings.
3. Drill Straight Lines
Some paintings have solid and straight lines, so use single-drill placement to align the diamonds precisely. Straight lines help give a professional, polished look. Work slowly and methodically when creating consecutive edges. You can use a diamond painting ruler to get the desired results.
4. Avoid Gaps
The color of the symbols on the canvas and the diamonds is almost identical. So there are a lot of chances that we may leave some gaps. Gaps, where the canvas shows through, will make a painting look incomplete and amateurish. So, I suggest you look closer for gaps on the painting once it is completed.
Sometimes we don’t press the diamond properly on the canvas, so that will also create a gap. Avoid gaps by pressing down firmly when placing diamonds to maximize adhesion. Periodically run your hands over the painting and apply pressure to set the diamonds in place.
If gaps still occur, you can fill them in with extra diamonds.
5. Work Edge to Edge
Always work your way across the entire canvas, edge to edge. Skipping around can lead to misaligned diamonds and a sloppy appearance. Start at one corner and drill complete sections before moving on. This helps ensure proper alignment across the whole painting.
6. Use Good Lighting
Having excellent lighting is vital for diamond painting. Use a bright work lamp and position it so there are no shadows over your canvas. Natural sunlight is excellent when available.
Proper lighting allows you to see the symbol guide and ensures you are matching diamonds to the correct symbols.
You can also use the light pad for your diamond painting. Light pads provide the best visibility on the canvas, and you can also adjust the brightness according to your needs.
7. Take Breaks
Diamond painting involves a lot of concentrated up-close work. Be sure to take regular breaks to rest your eyes and hands. Stepping away allows you to return with a fresh perspective to spot flaws. Short breaks can improve focus and prevent fatigue-caused mistakes.
I always work as 30-5-30 method, I work for 30 minutes and take a small 5-minute break, and then I work again for 30 minutes. Due to this method, I am able to complete a 40x50cm diamond painting in just 3–4 days.
8. Keep Diamonds Organized
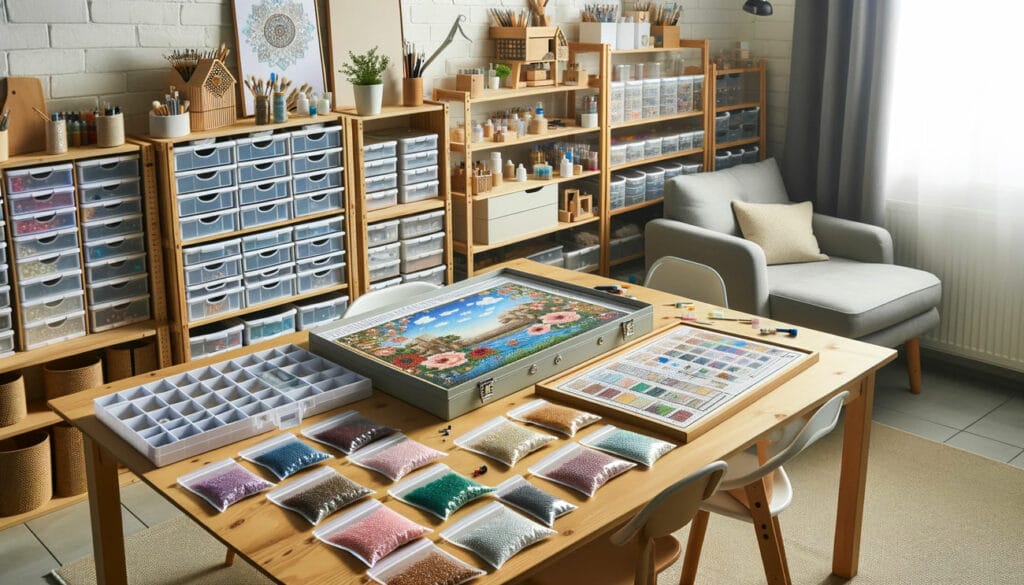
When we keep things organized, it will improve our focus and interest in the subject. Having diamonds organized by color in small containers helps keep everything accessible.

Prevent sorting slow-downs by keeping diamonds tidy as you go. Some use caddies with removable strips labeled by symbol. Others use clear plastic bags for each color. Find a system that allows you to grab the right color quickly. I have also shared some diamond painting storage ideas if you want to check them.
- Use a diamond painting storage box: I am a big fan of diamond painting storage boxes, I will suggest you invest in a storage box with small compartments to keep your gemstones organized by color. This will help you quickly locate the colors you need.
- Label compartments: I generally label all the compartments so that I can streamline the process, and label the compartments with the corresponding color codes or numbers. This makes it even easier to find the right gemstones.
- Re-seal bags: Some kits come with resealable bags. If your kit comes with gemstones in sealed bags, reseal them after each session to prevent spills and color mix-ups.
9. Lift the Diamonds Gently
While working on the diamond painting, we placed the diamonds in the wrong place. As you know, diamonds stick firmly to the canvas. But if we lift them multiple times, it can cause a loss of adhesion.
When repositioning diamonds, gently slide a toolkit under them and lift slowly. Never pull up on diamonds directly with your hands or fingers. Slide, don’t lift, to protect stickiness.
10. Seal the Diamond Painting
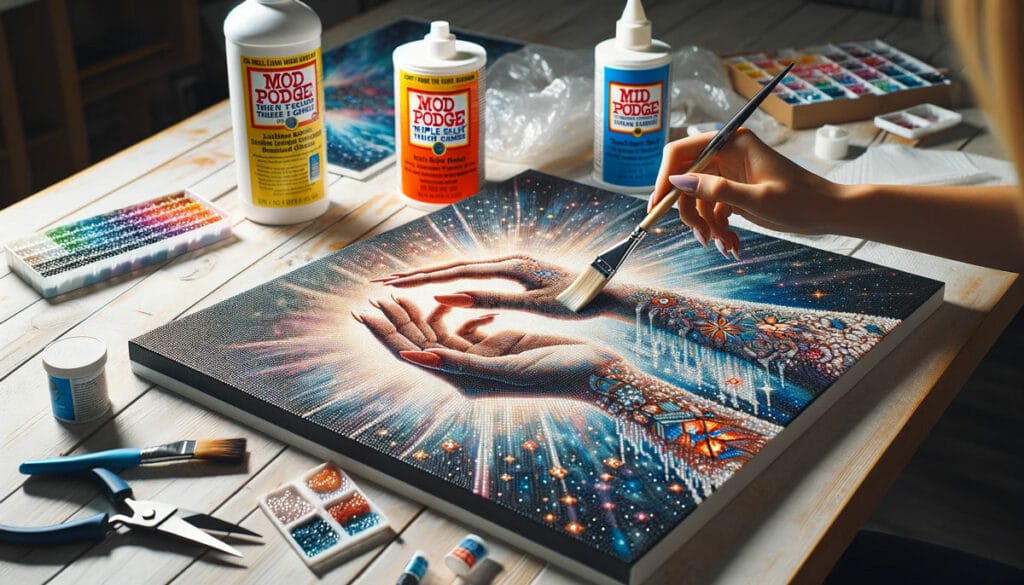
You’ve finally completed your masterpiece! Now, it’s time to seal and preserve it. Carefully apply a sealant coating like Mod Lodge over the entire canvas surface. This protects the diamonds and creates a smooth finish.

You can take a look at my other article about the diamond painting sealing process if you are facing any issues. Display your dazzling artwork and admire your new skills!
Diamond painting allows anyone to unleash their creativity. With some practice of these advanced techniques, you can produce artwork with a professional polish. Take it slowly, pay attention to detail, and enjoy the meditative process. Don’t be afraid to experiment – half the fun is learning new tricks! Your next mesmerizing mandala, pop culture portrait, or scenic landscape is just waiting to shine.
